How To Clean A Turtle Tank
Cleaning a turtle tank is an essential task to keep your turtle healthy and happy. Over time, waste and debris can accumulate in the tank, leading to poor water quality and potential health issues for your pet. But don’t worry, cleaning a turtle tank doesn’t have to be a daunting task. With the right steps and proper maintenance, you can ensure a clean and safe environment for your turtle.
So, let’s dive into the process of cleaning a turtle tank and discover some tips and tricks along the way!
Why is Cleaning a Turtle Tank Important?
Keeping a turtle tank clean is crucial for the overall well-being of your pet. Here are a few reasons why regular cleaning is necessary:
1. Water Quality: Accumulated waste and debris in the tank can lead to poor water quality, which can be harmful to your turtle’s health. Clean water is essential for maintaining their well-being.
2. Preventing Illness: Dirty water can harbor bacteria, fungi, and parasites that can cause diseases in turtles. Regular cleaning helps to reduce the risk of illness and ensures a healthy environment for your pet.
3. Algae Control: Algae growth is a common issue in turtle tanks. Regular cleaning helps to control and reduce algae growth, keeping the tank aesthetically pleasing and preventing it from becoming a breeding ground for harmful organisms.
Now that we understand the importance of keeping a turtle tank clean, let’s explore the step-by-step process of cleaning it effectively.
Step 1: Prepare the Necessary Supplies
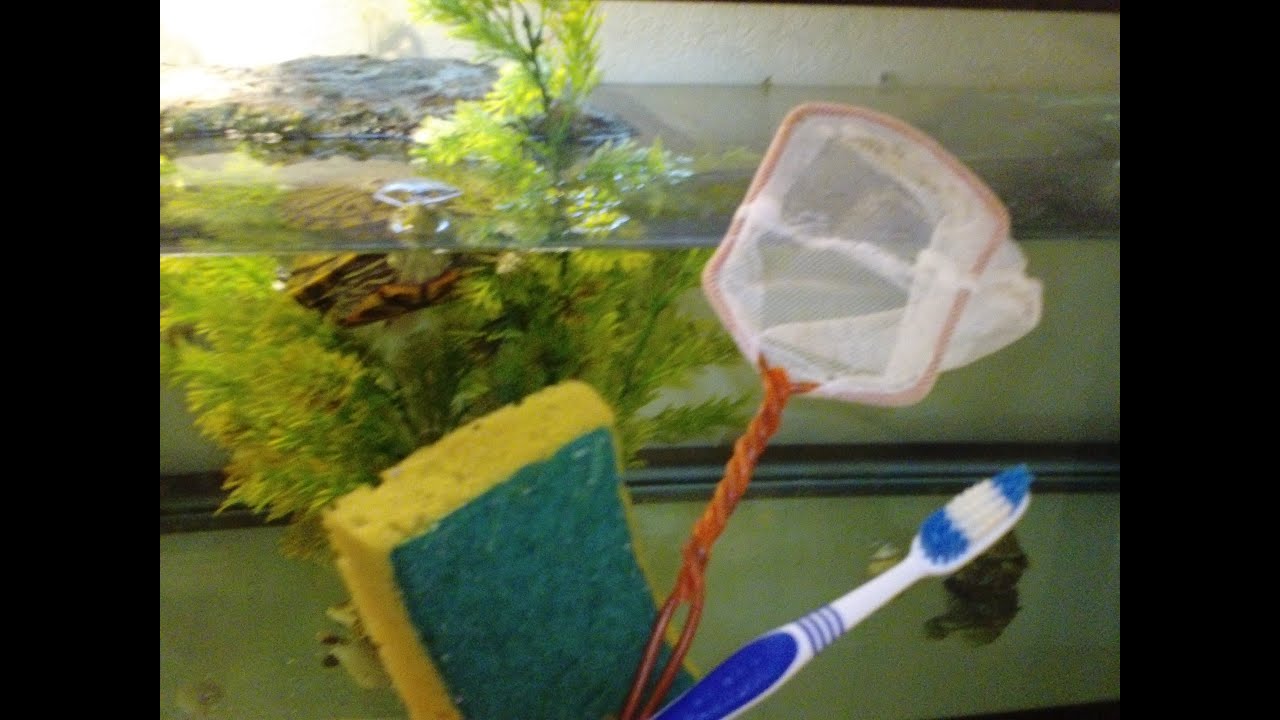
Before starting the cleaning process, gather all the required supplies. Having everything on hand will make the task more efficient. Here’s a list of essential items you’ll need:
– A bucket or container for the dirty water
– Clean water for rinsing
– A siphon or gravel vacuum
– Soft scrub brush or sponge
– Non-toxic aquarium-safe cleaning products, if necessary
– A net for removing your turtle temporarily, if needed
Step 2: Remove Your Turtle (If Necessary)
If your turtle is comfortable being handled, you can carefully remove it and place it in a temporary container with clean water while you clean the tank. Make sure the container is escape-proof and big enough for the turtle.
If your turtle is too large or you’re not comfortable handling it, you can clean the tank with the turtle inside. Just be cautious not to disturb or stress your pet during the process.
Step 3: Drain the Tank
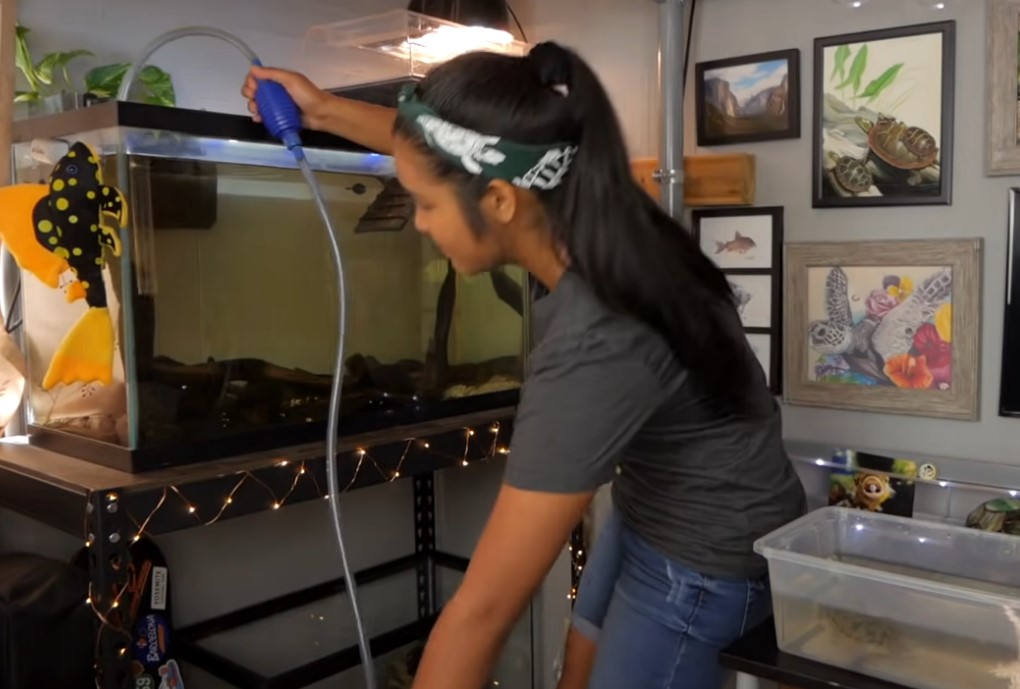
Start by draining the tank using the siphon or gravel vacuum. Place the end of the vacuum in a bucket or container to collect the dirty water. Make sure to remove as much water as possible while being careful not to remove any gravel or decorations from the tank.
Step 4: Clean the Tank
Once the tank is drained, it’s time to clean the tank itself. Use a soft scrub brush or sponge to scrub the walls, floor, and decorations of the tank. If you notice any stubborn algae or stains, you can use a non-toxic aquarium-safe cleaning product and follow the instructions carefully. Rinse the tank thoroughly after cleaning to remove any residue from the cleaning solution.
Step 5: Clean the Gravel or Substrate
If your turtle tank has gravel or substrate at the bottom, it’s essential to clean it as well. Use the siphon or gravel vacuum to remove any dirt or debris trapped in the gravel. Run the vacuum over the gravel, making sure to reach all areas of the tank. Clean the gravel until the water running through the vacuum appears clear, indicating that it’s free from debris.
Step 6: Rinse and Refill the Tank
After cleaning the tank and gravel, rinse everything thoroughly with clean water. Fill the tank with fresh, dechlorinated water, ensuring it’s at the appropriate temperature for your turtle. Check the water parameters such as temperature, pH levels, and ammonia levels to ensure they are within the recommended range for your turtle species.
Step 7: Return Your Turtle to the Clean Tank
If you temporarily removed your turtle, carefully place it back into the clean tank. Ensure the water level is appropriate for your turtle’s size and swimming needs. Monitor your turtle’s behavior after returning it to the tank to ensure it adjusts well to the clean environment.
Congratulations! You’ve successfully cleaned your turtle tank and provided a clean and healthy habitat for your pet.
Frequently Asked Questions
1.How often should I clean my turtle tank?
The frequency of cleaning your turtle tank depends on various factors, including the size of the tank, the number of turtles, and your filtration system. As a general guideline, aim to perform a partial water change and remove any visible waste or debris every week, while conducting a full tank clean once a month.
2.Can I use soap or cleaning chemicals to clean the tank?
No, it is not recommended to use soap or cleaning chemicals when cleaning your turtle tank. These substances can be toxic to turtles, even in small amounts. Stick to non-toxic aquarium-safe cleaning products specifically designed for use in reptile habitats.
3.Do I need to change the filter media?
Yes, it’s essential to regularly clean or replace the filter media in your turtle tank. The filter media can become clogged with waste over time, reducing its effectiveness. Follow the manufacturer’s instructions for cleaning or replacing the filter media to ensure proper filtration.
4.Can I use tap water in my turtle tank?
Tap water can contain chlorine, chloramines, and heavy metals that are harmful to turtles. It’s crucial to dechlorinate tap water before adding it to the tank. Use a water conditioner specifically formulated for reptile habitats to remove these harmful chemicals.
Final Thoughts
Cleaning a turtle tank is a necessary task to ensure a clean and safe habitat for your pet. By following the steps outlined in this article, you can maintain optimal water quality and minimize the risk of health issues for your turtle. Remember to perform regular maintenance, monitor water parameters, and provide a balanced diet for your turtle’s overall well-being. With proper care and attention, your turtle will thrive in its clean and happy environment. Happy turtle keeping!
