Seal Your Fish Tank like a Pro: A Step-by-Step Guide
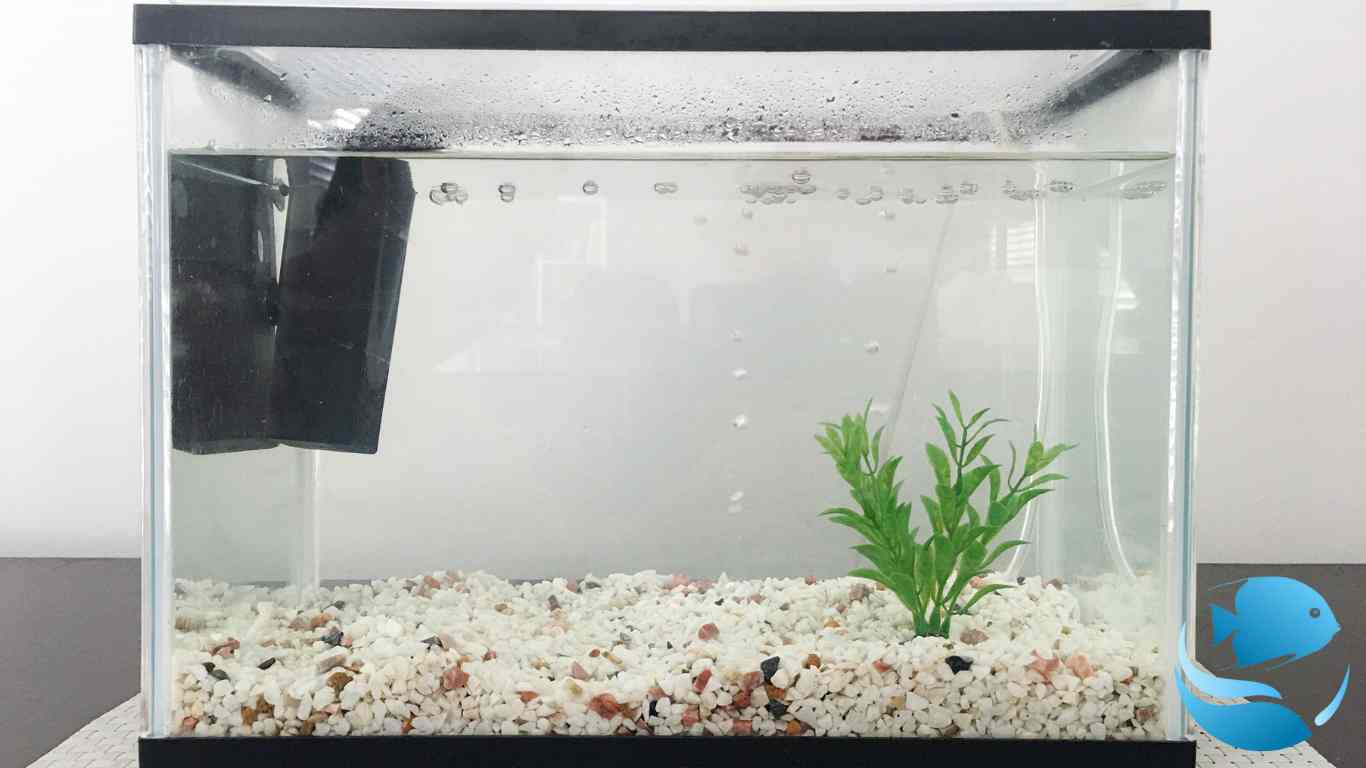
To seal a fish tank, use a silicone-based aquarium sealant and apply it around all edges and seams of the tank. The sealant must be left to dry completely before adding water.
A leaky aquarium can cause damage to your home or harm to your aquatic pets. To ensure your fish tank is sealed properly and won’t leak, you’ll need to use a silicone-based aquarium sealant. The sealant should be applied around all edges and seams of the tank, making sure it is thick enough to seal any potential gaps.
Give the sealant enough time to dry completely before pouring in any water. With a properly sealed tank, you can enjoy your aquatic pets worry-free.

Credit: www.fisheries.noaa.gov
Understanding Fish Tank Sealing
Definition Of Fish Tank Sealing
Proper sealing of a fish tank is essential for aquarium safety and longevity. Fish tank sealing is the process of sealing all glass joints and ensuring no water leaks occur. It involves using a sealant that ensures the tanks’ edges are fully sealed to prevent water from leaking out.
Types Of Fish Tank Sealing
There are 2 main types of fish tank sealing:
- Silicone sealant: This is the most common sealant and is widely used for fish tanks. Silicone is long-lasting, dries clear, and is easy to use. It is also waterproof and flexible, enabling it to expand and contract without damaging the tank’s glass.
- Acrylic adhesive: Acrylic adhesive is a type of glue that is also useful for sealing fish tanks. It is a transparent glue that has a strong adhesive bond, making it suitable for use with acrylic tanks. It dries quickly and can withstand pressure well.
Importance Of Proper Fish Tank Sealing
It is essential to properly seal fish tanks, as failure to do so can lead to several problems such as:
- Leakage: Poorly sealed tanks can cause water leakage, resulting in damage to floors, walls, and other installations.
- Damage to fish and plants: Inappropriate sealing may cause changes in water parameters that fish and plants are not adapted to. This can make them sick or even result in death.
- Tank stability: Well-sealed tanks have better stability than poorly sealed ones. Stability is necessary to maintain the tank’s balance and prevent it from breaking or toppling over.
Therefore, proper sealing is essential for the safety and longevity of your aquarium, and choosing the right type of sealant is crucial to ensure your tank lasts for a long time.
Choosing The Right Sealant For Your Fish Tank
Maintaining an aquarium is not a simple task. You have to make sure that everything, including the sealant that keeps your fish tank leak-free, is appropriate. Choosing the right sealant for your fish tank is crucial because it ensures that your aquarium remains functional without any issues.
Here, we’ll discuss the factors that you should consider when choosing a sealant, compare different types of sealants, and provide tips for finding the best sealant for your fish tank.
Factors To Consider When Choosing A Sealant
There are several factors you need to consider when choosing the right sealant for your fish tank. These factors include:
- Type of aquarium: Consider the type of aquarium you have, whether it is a saltwater or freshwater tank.
- Material of the tank: Determine what material your tank is made of, whether it is glass or acrylic.
- Toxicity: Ensure that the sealant you choose is non-toxic and safe for your aquatic pets.
- Adhesive strength: Make sure that the adhesive strength of the sealant you choose suits your aquarium needs.
Comparison Of Different Types Of Sealants
There are numerous types of sealants in the market, but the most common types are silicone and acrylic sealants. Here is a brief comparison of these two types of sealants:
- Silicone sealant: Silicone sealants are the most popular option for sealing aquariums. They are strong and flexible, but they require a long curing time. They also offer more adhesive strength than acrylic sealants.
- Acrylic sealant: Acrylic sealants are not as strong as silicone sealants, and they are less flexible. However, they cure faster than silicone sealants and adhere effectively to both glass and acrylic.
Tips For Finding The Best Sealant For Your Fish Tank
Finding the best sealant for your aquarium may be confusing, but here are some tips to help you make the right decision:
- Always choose non-toxic sealants: Ensure that the sealant you choose is safe for your aquatic pets.
- Consider the product’s strength: Choose a product that provides adequate adhesive strength for your aquarium needs.
- Look for a product that is easy to use: It should be easy to apply and clean up.
- Opt for a widely used brand: Choose a well-known, reliable brand to guarantee quality.
Choosing the right sealant for your fish tank is crucial for the safety of your aquatic pets. Consider the type of aquarium and material of the tank, always use non-toxic sealants, and opt for a brand with a reliable reputation.
By following these tips, you can rest assured that your aquarium remains leak-free and is a safe and healthy habitat for your fish.
Preparing Your Fish Tank For Sealing
Before you start sealing your fish tank, it is vital to prepare it appropriately. Follow these simple steps to get your fish tank ready for sealing and ensure a leak-free seal.
Cleaning Your Fish Tank
Cleaning your fish tank is crucial before sealing it. The following are the key points to keep in mind while cleaning your fish tank.
- Remove all the decor items, plants, and substrate from the tank.
- Using a soft cloth, wipe down the inside of the tank, removing all traces of dirt and grime.
- For stubborn stains, mix vinegar with warm water in a ratio of 1: 3 and wipe down the affected areas.
- Rinse the tank thoroughly with clean water and let it dry out completely.
Removing Any Old Sealant
Before applying the new sealant, it is imperative to remove any old sealant residues that have deteriorated over time. Here are some key points to keep in mind:
- Use a razor blade scraper to remove any old sealant carefully.
- Avoid using sharp tools in case you scratch the tank’s glass or acrylic surface.
- After removing the old sealant, wipe down the area using rubbing alcohol to get rid of any residue.
Drying Your Fish Tank
After cleaning the tank and removing any old sealant, the next step is to dry it thoroughly before applying new sealant.
- Using a soft cloth or paper towel, remove all excess water from the tank.
- Ensure that all parts of the glass or acrylic are dry, including the edges and corners.
- Leave the tank to air dry for at least 24 hours before applying any new sealant.
By following these simple steps, you can prepare your fish tank for sealing and ensure that it is leak-free and ready for your aquatic friends.
Sealing Your Fish Tank
If you want to keep fish, you need a well-sealed fish tank. It’s crucial to ensure the tank is watertight, so your fish can thrive in their new home.
Step-By-Step Guide To Sealing Your Fish Tank
Below is a simple step-by-step guide to seal your fish tank:
- Clean and dry the tank: Begin by thoroughly cleaning your tank and drying it completely. This ensures that no dust or debris will interfere with the sealing process.
- Get a silicone sealant: Choose a silicone sealant that is suitable for aquarium use. Avoid using any other type of sealant, as it may be harmful to fish.
- Apply the silicone: Apply a thin, even layer of silicone along the edges of your fish tank. Make sure to cover all seams and joints.
- Use a caulking gun: To get an even layer of silicone, use a caulking gun. This gives you control over the amount of sealant you apply, and makes it easier to ensure that it’s spread evenly.
- Smooth the silicone: Once you have applied the silicone, use a wet finger, spoon or a silicone smoothing tool to level and smooth the sealant.
- Wait for the silicone to dry: The silicone should be left to dry for at least 24 hours, although it’s best to leave it for 48 hours. Ensure that you wait long enough before filling up the tank with water.
- Fill the tank with water: Fill up the tank with water and allow it to sit for a few days. Observe the tank and ensure that there are no leaks or drips.
- Enjoy your fish tank: Once you’re sure that your tank is watertight, go ahead and introduce your fish to their new home. Keep an eye on the tank periodically to ensure that the silicone is not peeling off or creating any issues.
By following this step-by-step guide, you’ll create a leak-free, watertight fish tank for your aquatic pets. You’ll be able to relax and enjoy your fish in a safe environment without any worries about leaks or spills.
Frequently Asked Questions For How To Seal A Fish Tank
How Do I Know If My Fish Tank Needs Sealing?
If you notice any leaks or water escaping the tank, then it’s time to seal it. Generally, it’s recommended to inspect the seal every 2 to 3 years to make sure it’s holding up well.
What Supplies Do I Need To Seal My Fish Tank?
You’ll need a silicone sealant specifically made for aquarium use and a cartridge gun. Make sure to choose a sealant that’s safe for fish and won’t release harmful chemicals into the water.
How Do I Prepare My Fish Tank For Sealing?
Drain the fish tank, clean it thoroughly, and let it dry completely. Remove any old silicon seals and ensure the glass is clean and free of debris.
Do I Need To Remove My Fish Before Sealing The Tank?
Yes, it’s best to remove your fish and all accessories before beginning the sealing process. Wait until the seal is fully cured before introducing any aquatic life back into the tank.
When Can I Refill My Fish Tank After Sealing It?
Wait at least 24 hours before refilling the tank. It is recommended to wait up to 3 days to let the sealant cure fully before adding water and fish back into the tank.
Conclusion
As a fish tank owner, it’s crucial to take measures to keep your aquatic pets safe and healthy by ensuring that water doesn’t leak out. Sealing a fish tank can be tricky, but by following the steps outlined in this guide, you’ll be able to seal your tank effectively.
From preparing the surface to applying the sealant, you need to be cautious and follow instructions closely to avoid potential hazards such as inhaling fumes or damaging your tank. While there are multiple ways you can seal a fish tank, using silicone is the easiest and widely recommended solution.
By investing some time and effort into sealing your tank correctly, you can enjoy peace of mind knowing that your fish are secure and won’t accidentally escape or damage your home.


